
Between my oldest moving back home to go back to school full time and my youngest being home everyday during spring break just wiped me out and of course my posting suffered as usual.
But I think I may be on track?? well I'm trying to stay on track!
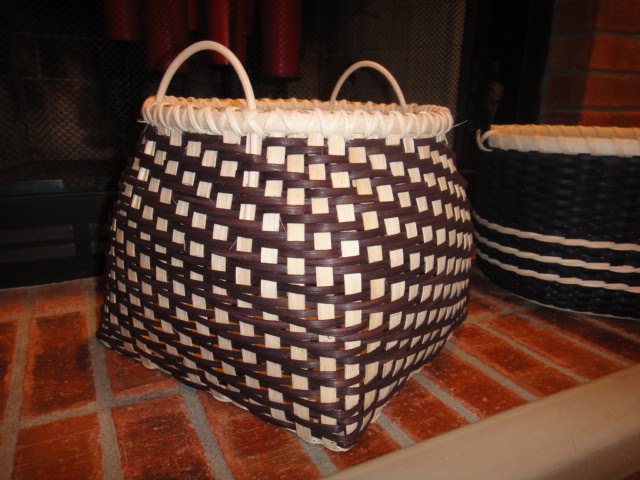
Here is my newest basket I made, not sure what to call it but for now I'm calling it treat basket. its a simple rectangle (my stakes looks a little crooked, maybe it got moved when I was doing the curls) with curls added on at the end after the basket was done.
Here are what you'll need to make one just like it:
5/8FF cut 7 @ 19" and 5 @ 22" mark all on center on the rough side
3/8"FF cut 4 @ 13" for fillers mark all on center on the rough side
#2 or #3 twine
1/2"FF dyed (I used navy I had laying around)
3/8"FF rim row
1/2" FO Rim
3/16 FO Lashing
3mm FO Curls
 Lay all 5 of the 22" stake horizontally and place the 3/8" filler in between the five stakes. take 1 of the 19" stake and place it over the stake and under the filler and continue 3 more on each side alternating the weave to make the base like the picture. Base should be about 8 inch X 5 inch
  then cut the filler length wise and fold and cut and tuck under the stake next to the last vertical stakes like the diagram. Twine once using #2 or #3 round, spray down the stakes and upset the stakes.
start weaving the sides:
7 Rows 1/2" Dyed FF
1 Row 3/8" natural FF (rim row)
rim with 1/2" FO
Lash with 3/16" FO
add curls diagonally with 3mm FO soaked well to keep it from breaking and don't forget to keep it wet while you work around the basket.
Here is the reason why I'm calling it the treat basket, because this was made for my cats snacks. please excuse the background of this picture. its a lego Jabba's Palace which belongs to my youngest.
if you need help with figuring out how to put the diagonal curl, let me know!
